Pushing to a repository in github actions
The very first article of this blog is about the blog itself, specifically about its release pipeline. So, to get in sync with the problem at hand, let’s take a trip around the nature of the blog.
About the blog itself
This is a Jekyll-powered blog hosted in github pages, for those of you unfamiliar this technologies:
- Jekyll is a blogging technology written in ruby that turns markdown documents into a static site just as a regular cms would render blog posts stored in a database to html.
- Github pages free hosting for static content and… Jekyll blogs!
So… since github pages hosts Jekyll blogs out of the box, we should not need a release pipeline. Except that this site uses Jasper2 a port of Ghost’s theme, Casper to Jekyll, and that’s where plugins come in, and since github pages do not support plugins, pipeline it is.
Why go through all this trouble? You might ask. I have to blame Jorge Castillo for that, as I fell in love with the feel and looks of his blog.
Even worse, if you go to the Jasper2 site, you’ll find that it has a configuration by default to build with Travis, but Github actions just got released and I just couldn’t resist.
Enough appetizers, let’s get to the main course
You can always find the latest version of this pipeline in the source repository
The build pipeline follows a few self-explaining steps to build the static site:
- Triggering when pushing or merging to master.
on:
  push:
    branches:
      - master
    pull_request:
      branches:
        - master
- Checking out the code and loading a cached install of Ruby in the build agent.
    - uses: actions/checkout@v1
    - name: Set up Ruby 2.6
      uses: actions/setup-ruby@v1
      with:
        ruby-version: 2.6.x
- Jekyll requires quite a bunch of gems, so it’s convenient to also cache our gems, that will shave a good five minutes of our pipeline.
    - name: Setup ruby cache
      uses: actions/cache@v1
      with:
        path: vendor/bundle
        key: ${{ runner.os }}-gem-${{ hashFiles("**/Gemfile.lock") }}
- Installing the gems (or consuming the cache if it was here)
    - name: Build static site
      run: |
        gem install bundler
        bundle config path vendor/bundle
        bundle install --jobs 4 --retry 3
        bundle exec jekyll build
That last step will build the site in the _site subdirectory of the workspace (the directory where github checks out our repository).
Now, in order to release, we could release to another branch, I chose to do so to another repository just for the sake of it. For that we need to:
- Consume a Github token with push permissions.
- Configure git with our identity.
- Clone the static site repository.
- Copy the static site on top of it.
- Commit.
- Push the new version of our blog.
The token with push permissions.
That token is radioactive as it would allow anyone that gets a hold of it to wreck our repositories, so we have to keep it safe. NEVER, NEVER, EVER put such a thing in a repository, not even a private one, a friend of yours you gave access to might accidentally fork your private repository and there are villains out there with bots constantly scanning for people making such a mistake.
First, generate it going through github settings, click in your profile picture and follow the steps:
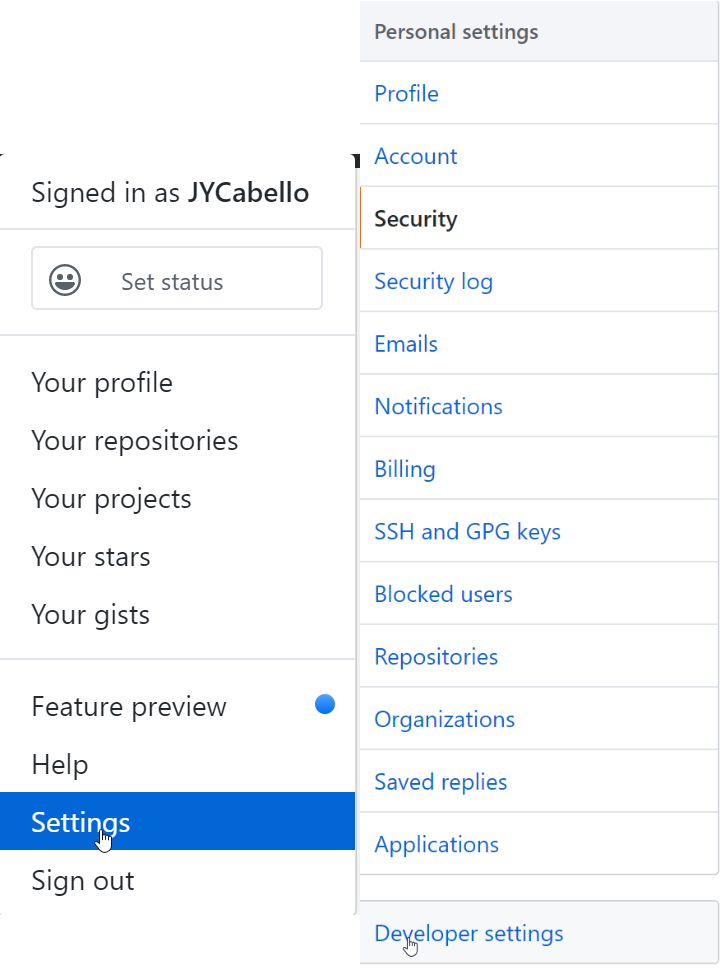

Then set the permissions for the token to be able to ruin your life push to your repository. Copy the token as it will be only visible now.

In order to have the token usable in your pipeline, you need to set it as a secret in your pipeline, I named it PUSH_TOKEN.
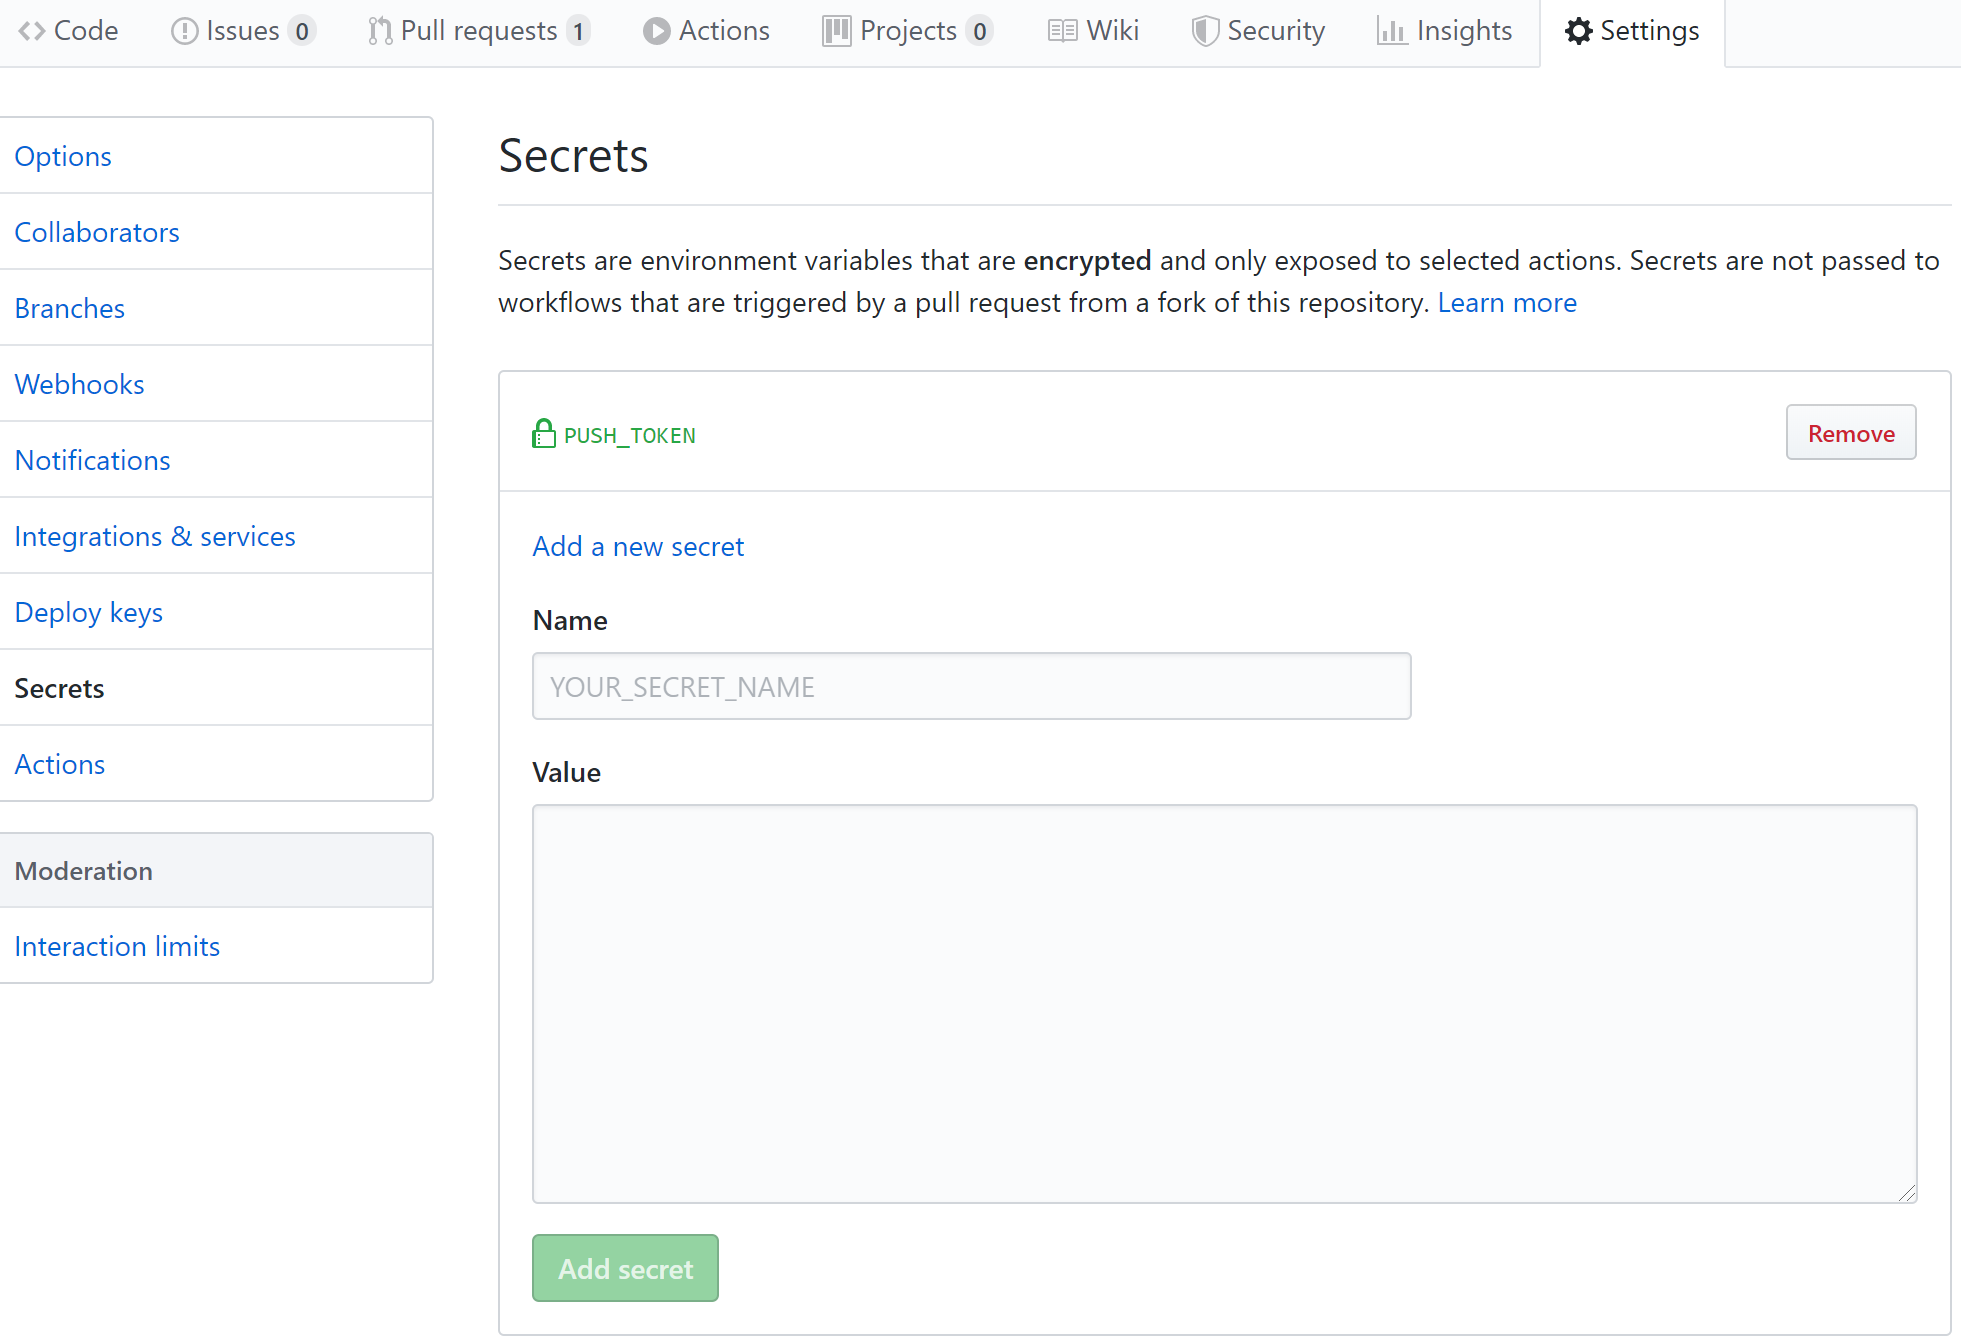
Now is just a matter of consuming it. The first two lines will set your git user, make sure to set the values to your email and user name.
Then it will go to your build agent home and clone your static site repository (if you name it [githubusername].github.io it will serve it straight away),
get into the folder, make sure you are in master (or your chosen branch), delete all contents except the .git directory (for a cleanup of deleted files)
copy the built static site, make a commit and push it back.
    - name: Checkout static site and make a commit
      env:
        GITHUB_TOKEN: $
        skip-checks: true
      run: |
        git config --global user.email "YOUR_EMAIL_ADDRESS"
        git config --global user.name "YOUR_USER_NAME_FOR_THE_TARGET_REPO"
        cd ${HOME}
        git clone https://x-access-token:${GITHUB_TOKEN}@github.com/YOUR_USER_NAME_FOR_THE_TARGET_REPO/MY_PAGE_NAME.github.io.git
        cd MY_PAGE_NAME.github.io
        git checkout master
        rm -r *
        cp -rf ${GITHUB_WORKSPACE}/_site/* .
        git add .
        git commit -m "From commit ${GITHUB_SHA}"
        git push origin master
I’m fully aware that you might as well just have ignored the rest of the article and gone to the last part. I have no hard feelings for that, the reason I wrote this post is because I searched for how to do a push in a github actions pipeline and didn’t find anything, so when I did it, I thought about you. If you find yourself doing something that you can’t find online and manage to do it, consider doing the same.
After all, you now know how to host a free blog.
Header photo by Biswarup Ganguly